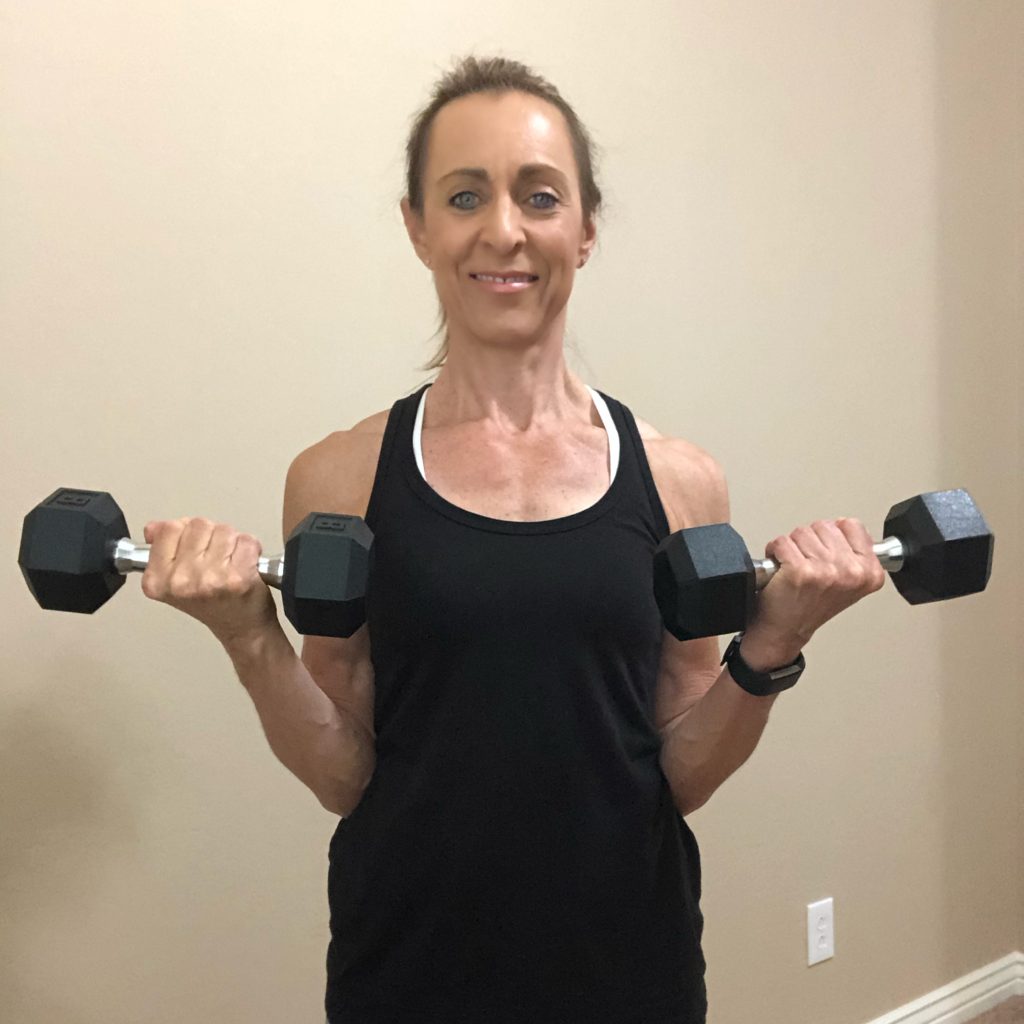
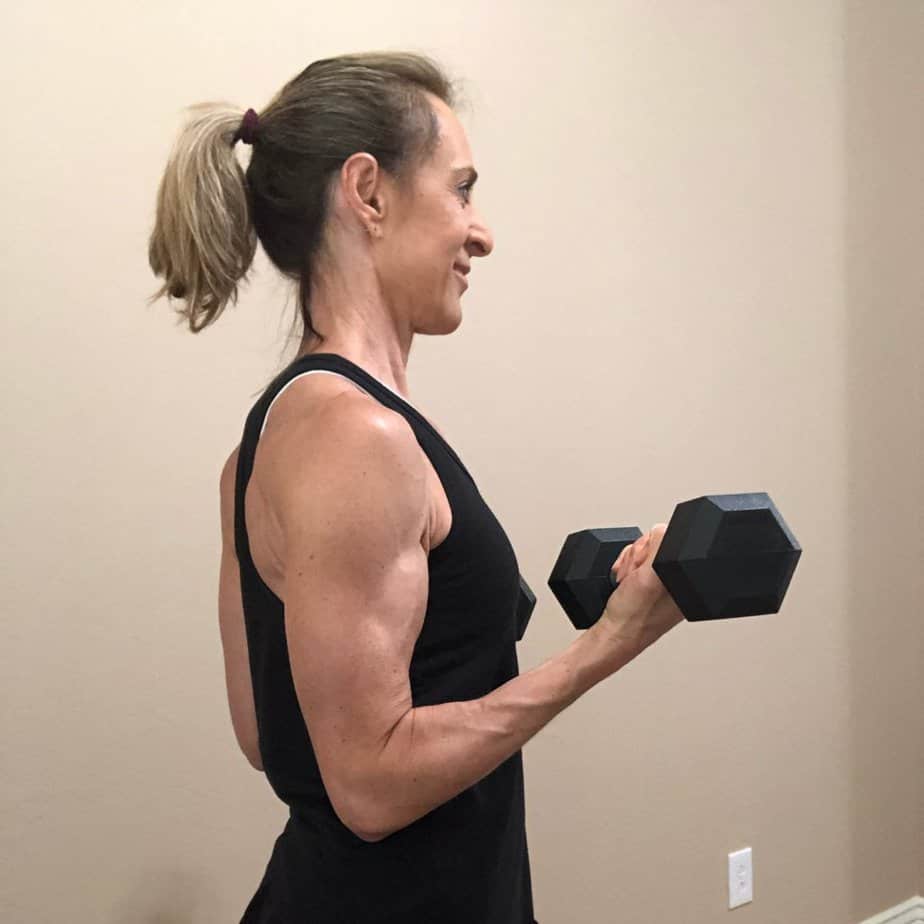
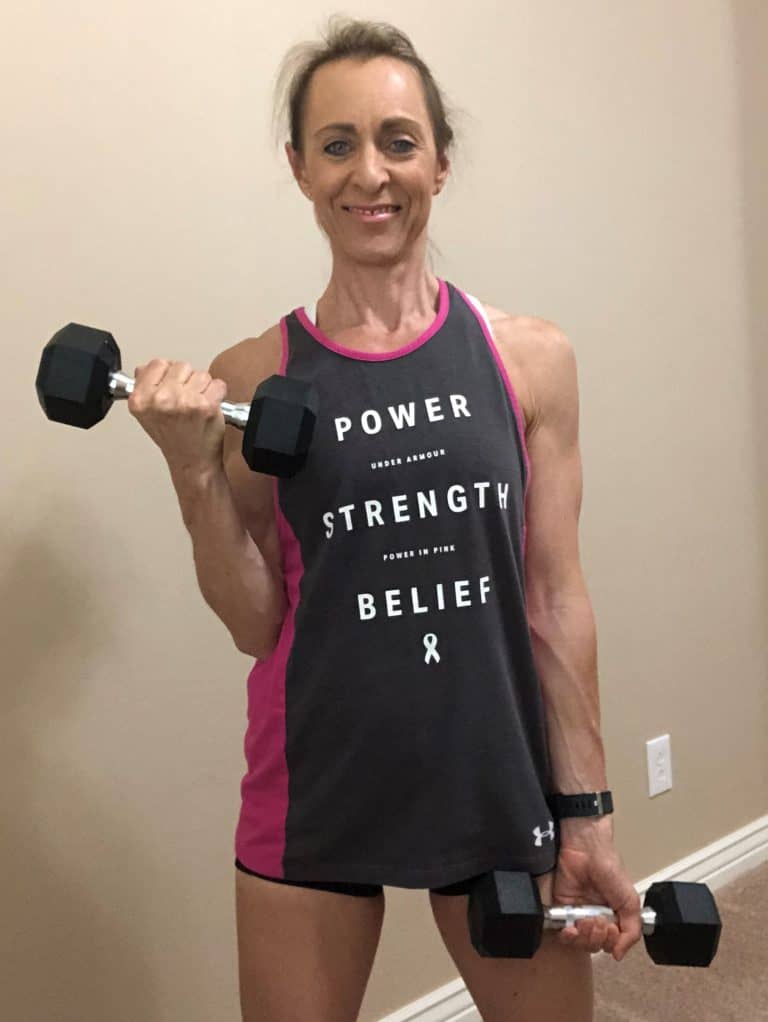
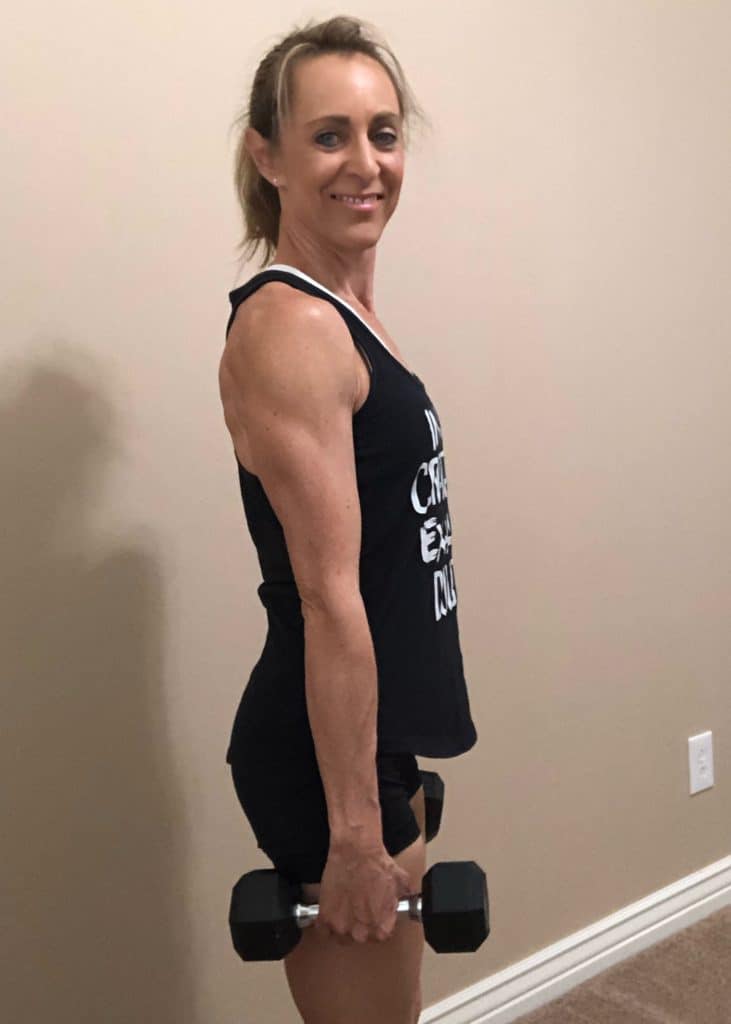
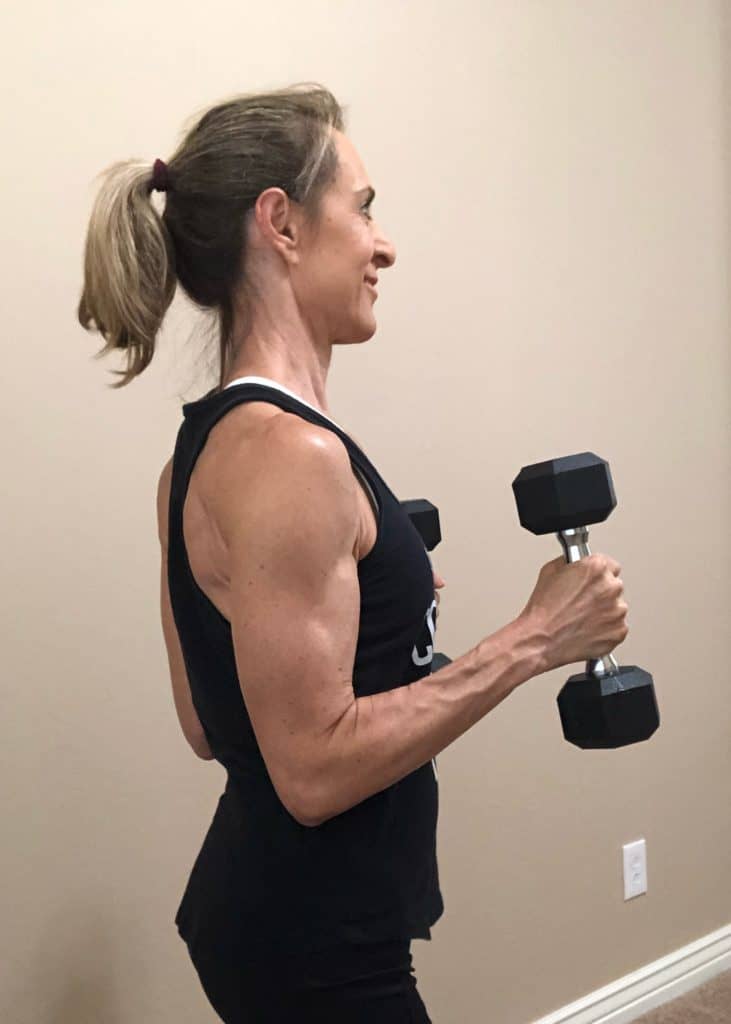
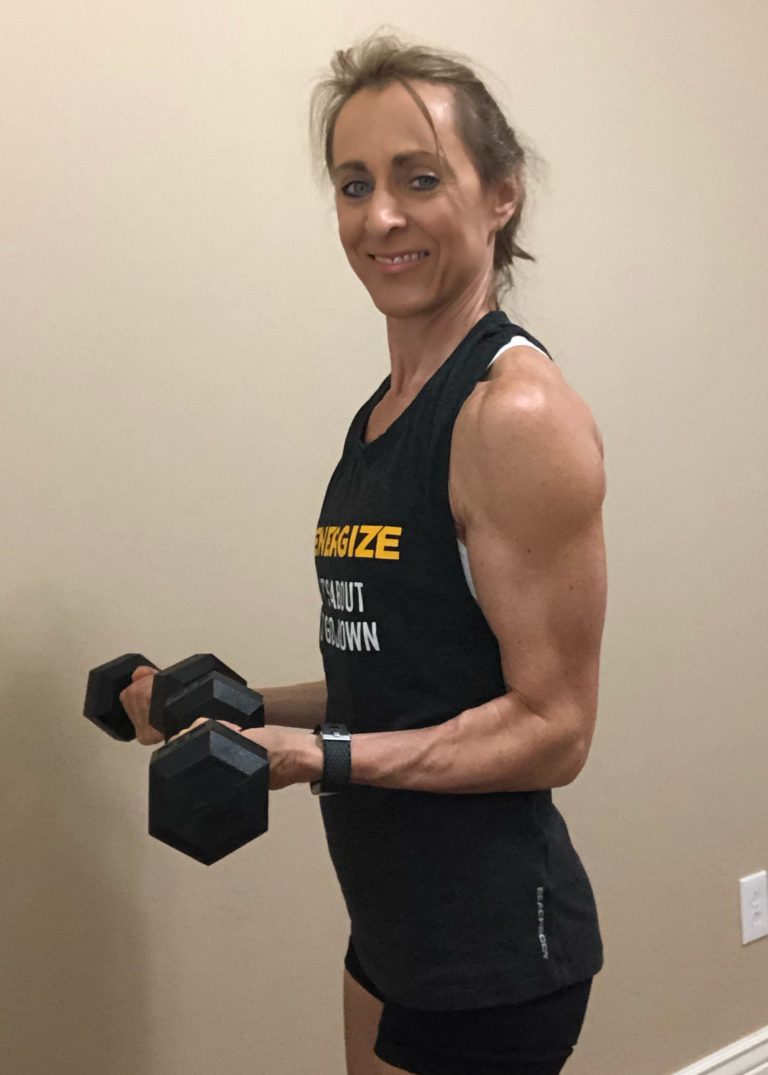
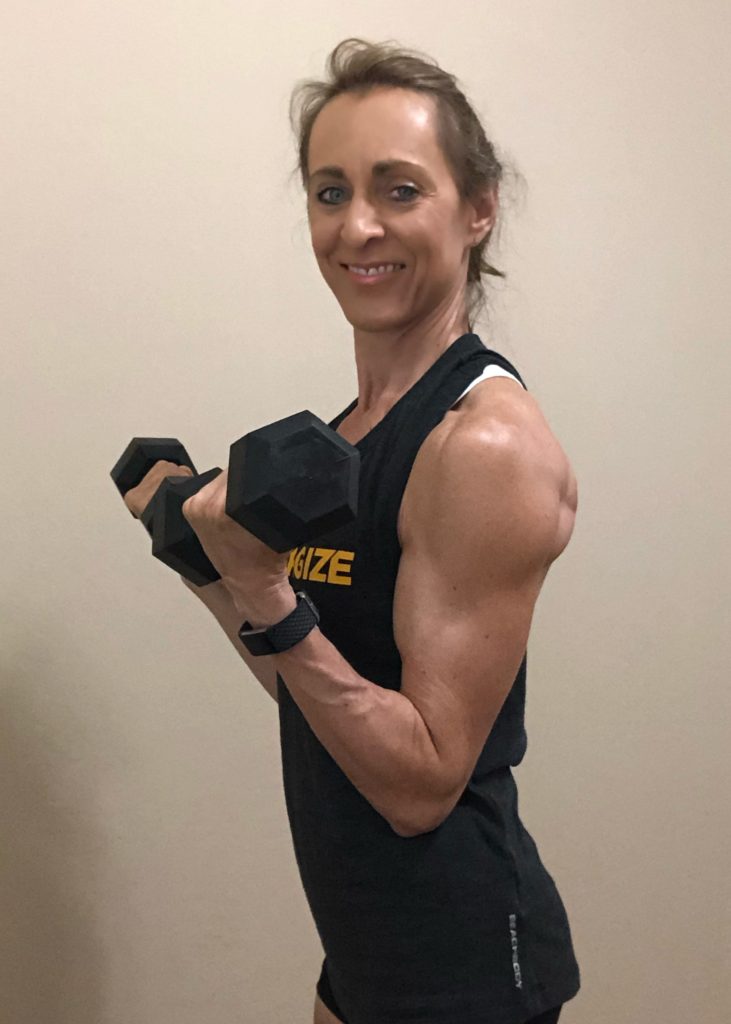
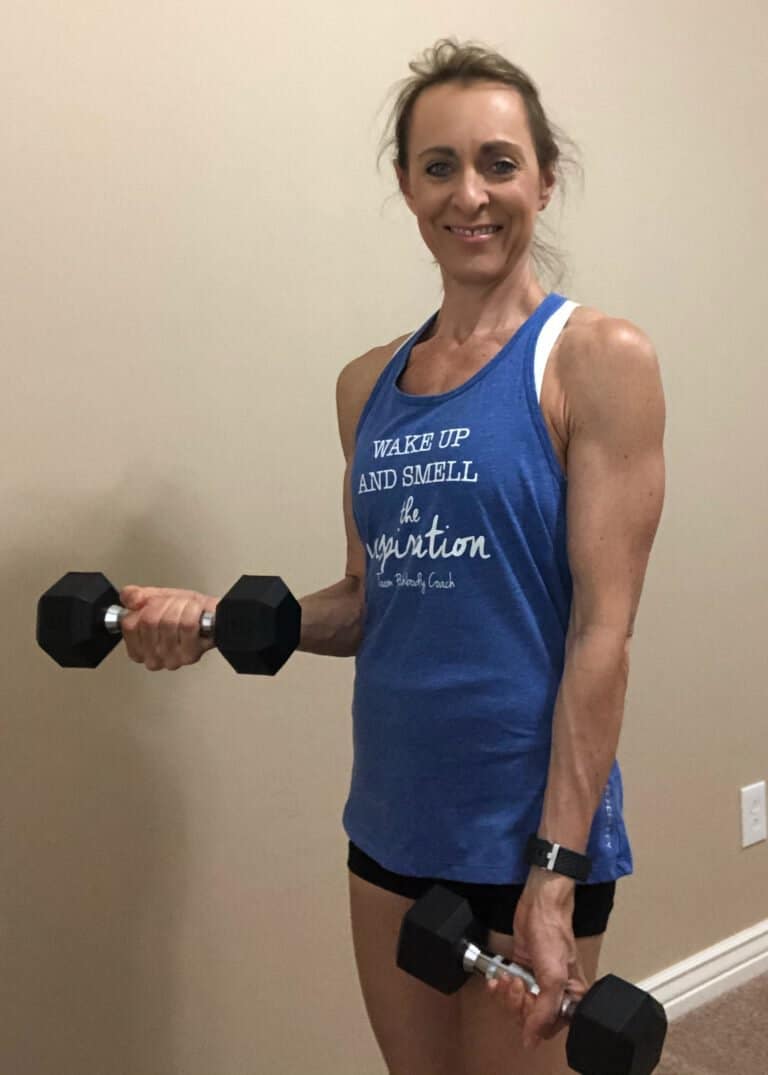
Sculpted Shoulders are on the horizon when you incorporate these 3 quick workouts into your fitness routine.  These are great for beginners and anyone with minimal time.


The shoulder press is one of my all-time favorite shoulder exercises and you’ll find it, along with the lateral raise in all three of these workouts. 


It’s nearly impossible to work a single muscle with any exercise.  Each shoulder exercise will hit the primary shoulder muscles from different angles, while also working other muscles in your back and arms.


The shoulder press works primarily the front part of your shoulder (anterior deltoid); however, your delts, triceps, trapezius, and pecs will all get a workout.


The front raise and the lateral raise will work your lateral or side deltoid, along with the trapezius, biceps, and pectoralis major.


With the Y raise, you’ll hit your rotator cuff muscles and the lower trapezius.


As the name implies, the rear delt fly will target the rear deltoids on the backside of your shoulders, as well as your upper back.

Sculpted Shoulders Workout #1

In this 10-minute shoulder sculpting workout, we’re doing 3 sets of each exercise and working the shoulder from different angles with 3 different types of raises.  This workout includes:

  • shoulder press
  • lateral raise
  • front raise
  • Y raise

Sculpted Shoulders Workout #2

In this shoulder workout, we are doing one set of 6 different exercises.  You can definitely do 2 or 3 additional sets, if you’d like.

One set is perfect if you’re a beginner or short on time.

This workout includes:

  • lateral raise
  • single arm shoulder press
  • front raise
  • single arm lateral raise
  • Y raise
  • shoulder press 

Sculpted Shoulders Workout #3

Want sculpted shoulders? Then you’ll certainly want to add this workout into your routine.


As the video name implies, you’ll be doing 5 different exercises in this 13-minute shoulder workout.

The exercises include:

  • shoulder press
  • Y raise
  • lateral raise
  • shoulder fly
  • rear delt fly

Generally,  you can do any of these shoulder workouts 1 – 2 times per week and get great results.  However, if you have additional time and want to double shoulders with other muscle groups, consider one of the following workouts.
Want an amazing physique?


In this post, I’m sharing 8 ways these chest exercises for women will help you create that amazing physique.


Strength training, in general, is the single most effective way to build muscle, lose body fat and transform your physique.  That is true for all muscle groups – shoulders, arms, back, legs and CHEST. 

However, women frequently overlook chest exercises thinking these are only for the men.   However, chest exercises won’t give you a manly looking chest.  Instead, they will actually build muscle around the breast tissue which can then help to lift the breasts.   This can help counter the effects gravity is having on us as we get older.


There are numerous benefits to doing chest exercises.  Following are the top 8 reasons I firmly believe women need to include chest exercises in their fitness routine.

New here?   Thanks for stopping by or welcome back.  After you read this blog, be sure to check out some of my other articles for women over 50 who want to lose body fat, build muscle, create phenomenal bodies they love.

You may recall the cardio craze of the 80’s and 90s where women were directed to the cardio room while weightlifting was considered a “man’s” workout.  Those were the days of leotards, leg warmers and headbands. Bring back any memories?

Well, that was me, in the beginning. Aerobic classes, treadmill, elliptical machines.   Until I discovered strength training.

Despite often being the only female in the “men’s weight room”, the one with the heavy dumbbells, barbells and squat racks, and receiving frequent looks like “what are you doing in here?”, I somehow continued showing up.  To be honest, it was incredibly intimidating in the beginning.


So, if you can imagine this primarily men’s group.  What was the main exercise they were doing?  If you guessed bench press, you’d be right.   I think some of them were bench pressing everyday, not something I would recommend.


I had never done chest exercises before, but this was my start and I haven’t stopped since. 


Our chest muscles should be treated as any other muscle group.  You don’t want to ignore them.  So, let’s talk about why not?

Chest exercises for women... avoid muscular imbalance

Our muscles all work together as one unit. Although strength training is no longer just for the men, women still often ignore chest exercises.  Here’s the thing… ignoring one group of muscles, like the pectoralis muscles in the chest,  can lead to muscular imbalance, which then can lead to pain or injury


Without a strong chest, other smaller muscles may try to compensate which is likely to result in an injury.

Chest exercises for women... improve your posture

When you think of good posture, you may think about your shoulders and back.  But did you know that your chest muscles (ie. pectoralis major and minor, or pecs) play a major role in good posture?    Your pecs work to stabilize your shoulder joint.

And, if you sit hunched over a computer all day like I do, you are inadvertently shortening your chest muscle fibers.  

Chest exercises will help to open up and lengthen these muscles and therefore, improve your posture. 


So, if you have a desk job, this is a major reason to get your chest workout in.

Chest exercises for women... make it easier to breathe

Stronger chest muscles can make it easier to breathe.  Specifically, the pectoralis minor, helps to expand your rib cage and opens up your diaphragm.

If you’re doing anything strenuous, you want to get oxygen to your muscles.  By lengthening your pectoralis minor you’re able to take deep breaths and get more oxygen to all your muscles.  This can improve your stamina and overall strength.

Chest exercises assist with building other muscles

Many chest exercises are compound movements, which simply means you are also using a variety of other upper body muscles, like your shoulders, back and triceps, to perform the movement. 


Although your pectoralis major is the primary muscle worked during most chest exercises, your triceps, back and shoulders are working too. 


Working your chest is a great way to get an overall upper body workout.  Have you seen women with impeccable shoulders and triceps?  You can almost bet they are working their chest, in addition to specific shoulder and tricep exercises

Chest exercises for women...create an extra calorie burn

Large muscles burn more calories!  So, since the chest is one of the largest muscle groups, and more muscle means burning more body fat, it’s another great benefit of including chest exercises in your fitness routine.

Chest exercises... improve functional fitness for women

You may not realize it, but you use your chest muscles in many of your everyday movements.   If a movement requires pushing or pulling, you can bet your chest muscles are working.  Picking up a large suitcase… yep, your chest is working.   Same goes for opening a heavy door.


These are activities you may take for granted now or you may be noticing that these things are getting harder and blame it on getting older.  They aren’t harder because you are getting older. They are harder because your muscles are getting weaker.


And, that is most likely because you aren’t working them.  If this is you, no worries.  It’s not too late to add strength training and more specifically, chest exercises to your daily fitness routine.

Chest exercises are empowering

When you first begin doing chest exercises, you will likely find them to be hard.  I know they were for me.  Accomplishing hard things is empowering.  Remember, what you may find hard today, will get easier.


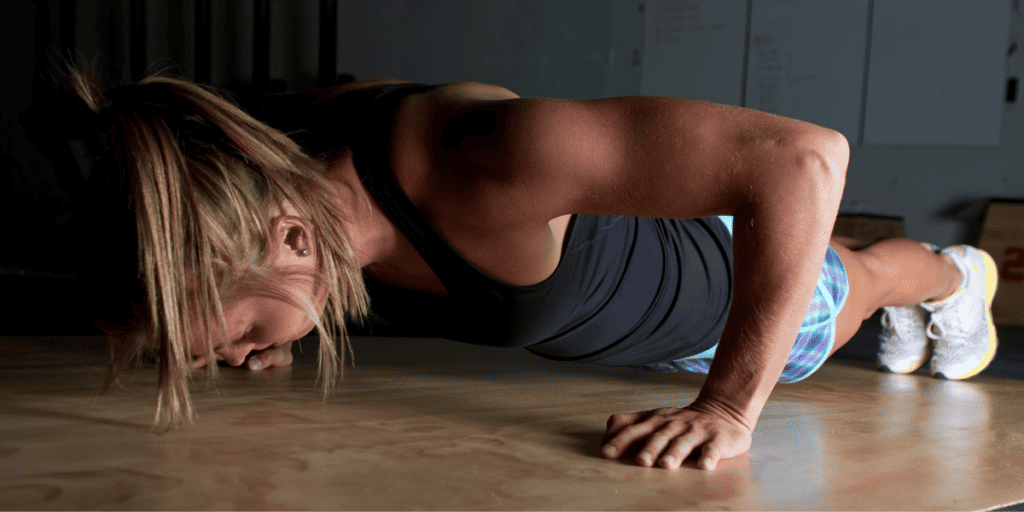
I know most women cringe when I mention pushups. Without a doubt, this is one of the most empowering exercises for women. Not only are pushups the ultimate in chest exercises, as you get stronger you’ll likely experience an amazing sense of accomplishment. 


Pushups are my favorite exercise.  Not because they are easy, because they are not. But, because they are hard.  You don’t get a huge sense of accomplishment from doing anything easy. 

When you do a set of pushups, how can you not smile with pride?

Chest exercises help create an amazing physique

I mentioned earlier that chest exercises also work other muscles, like shoulder, triceps and back.  While chest exercises are strengthening your chest, they also help sculpt a better overall physique.  If the look of firm arms is appealing to you, adding chest exercises should be non-negotiable.  


As your chest gets stronger, you also get the added benefit of toned, sexy arms that pop in your tank tops, and sleeveless dresses.  Can you feel your confidence rising?


So, hopefully by now you are convinced that adding chest exercises to your routine is essential. 

What are the best chest exercises for women?

There are a lot of variations, but I’ll stick with 3 primary chest exercises.  This is all you need for a strong chest.

Pushups

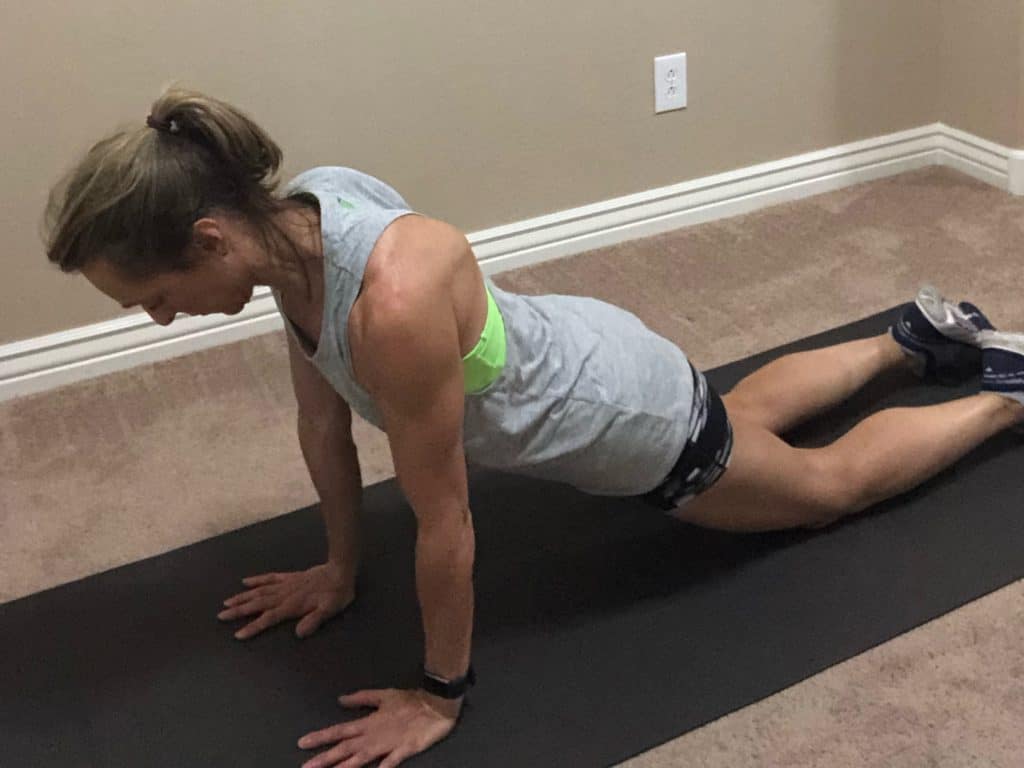
As I said before, the pushup is the ultimate chest exercise.  I’ll share  2 variations. A modified pushup where you’re on your knees and a regular pushup where you’re on your toes.

Modified pushup... on your knees

How to do it: Place your hands on the floor about shoulder-width apart with knees and toes on the floor.


Bending your elbow and keeping back flat, lower your body so that your chin either touches or comes close to the floor. Then push your body back up to the starting position.

Regular pushup... on your toes

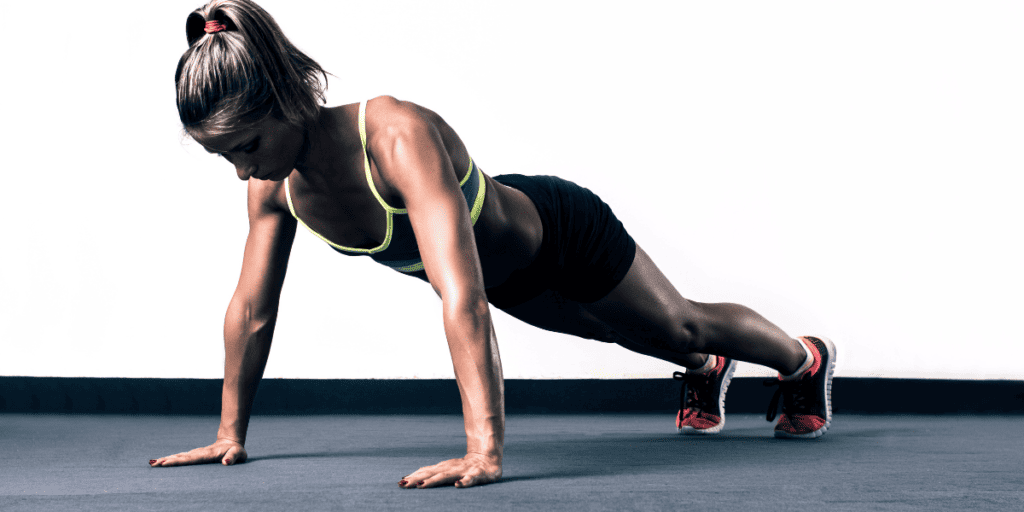
How to do it:  Place your hands on the floor about shoulder-width apart with toes on the floor. Keep your back flat.  Knees are off the floor.


Bending your elbow and keeping back flat, lower your body so that your chin either touches or comes close to the floor. Then push your body back up to the starting position.

Do 10 – 15 pushups.  Rest for a minute.  Repeat. Do 2 – 3 sets.

Dumbbell Chest Press

How to do it:  Lay flat on your back on either the floor or a workout bench.  With a dumbbell in each hand, bring arms to a 90° position with palms facing toward your feet and triceps resting on or parallel to the floor.    Knees are bent and feet are flat on the floor.   


Press arms up over chest, extending dumbbells toward the ceiling and bring dumbbells together at the top.  Slowly, lower the dumbbells back down to the starting position without resting your triceps on the floor (if doing these on the floor).

Do 10 – 12 reps.  Rest for a minute or less.  Repeat.  Do 3 sets.

Dumbbell chest fly for women

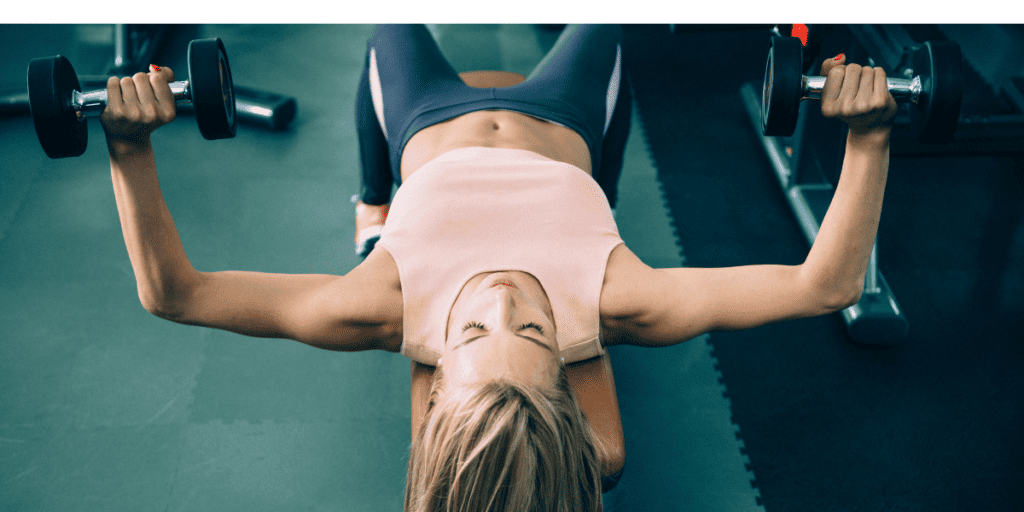
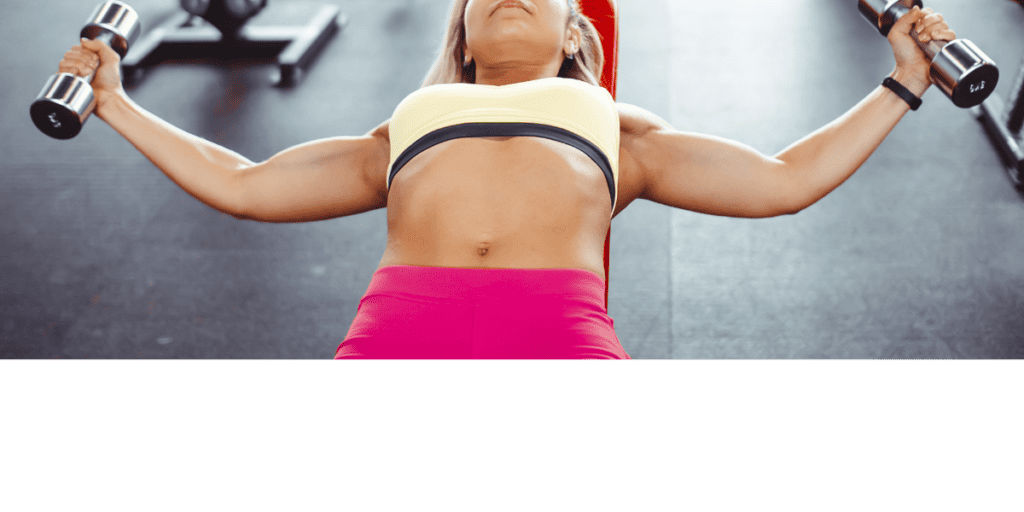
Dumbbell Chest Fly

How to do it:  Lay flat on your back on either the floor or a workout bench.    Knees are bent and feet are flat on the floor. With a dumbbell in each hand, extend your arms directly over your head. 


Lower your arms out to the side keeping a slight bend in your elbows.   Lower the dumbbells until they are approximately shoulder height, squeeze your chest and raise arms back to starting position.  Don’t  allow your elbows to dip below the bench or touch the floor.     

 Do 10 – 12 reps.  Rest for a minute or less.  Repeat.  Do 3 sets.

Pin it now. Read it later.

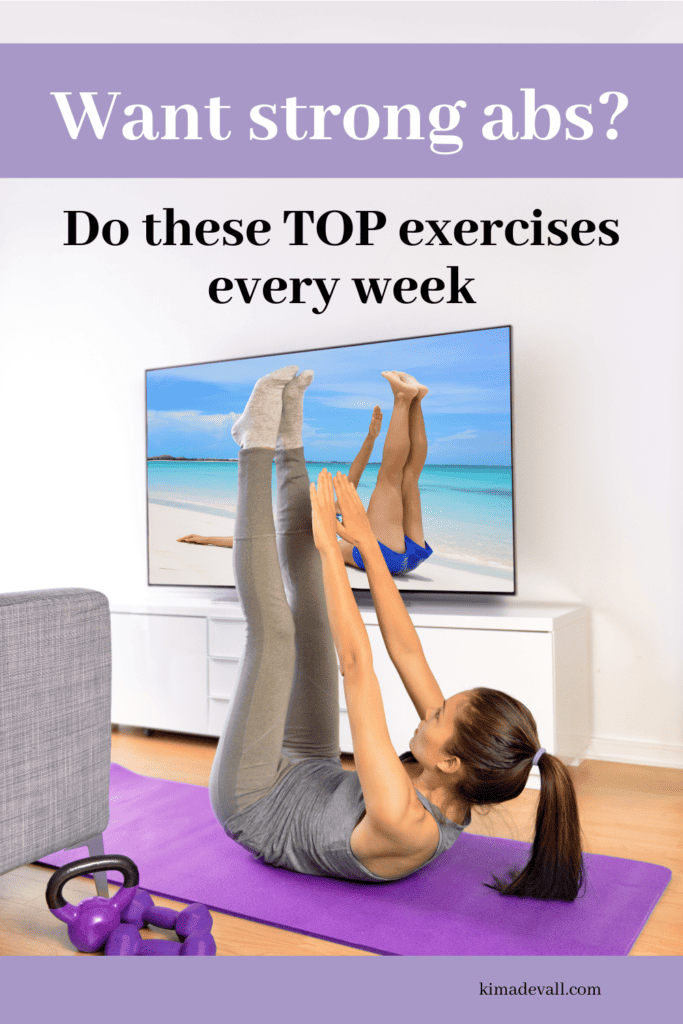
Strong abs vs the sculpted six pack.  If you’ve ever strived for the toned flat tummy or even the sculpted six pack you may have found yourself coming up short of your goal.  You probably found it isn’t as simple as do cruches and wake up with a six pack!

Strong abs for women over 50

A toned flat tummy looks great, but strong abs will make you actually FEEL great.

Strong abs... more important than a flat tummy

You may also have noticed that getting that flat tummy has become more difficult as you approached 50.  After menopause, women often gain fat around the belly. 


We can work on reducing overall body fat, but we cannot spot reduce.  In other words, exercising a particular body part (ie. ab exerises) will not reduce fat on that body part (ie. abs).


However, while our bodies are deciding what body fat to burn first, we can still be creating strong abs.

And, strong abs:

  • provide support for our spine
  • help us to have a better posture
  • reduce risk of chronic low back pain or injury

We use our abs in nearly everything we do.  Our abs help us walk, stand, bend, sit, reach, twist.  You name it.  Our abs also work in conjunction with our back.  Keeping them both strong is critical.  If one is stronger than the other, we are at greater risk of an injury as one tries to compensate for the other. 

Abs... 4 different muscles

When you think of abs, what muscles do you think of?  Our abdominals are actually made up of several different muscles – rectus abdominus, transverse abdominis, internal obliques, and external obliques.   To effectively get strong abs, we need to include exercises for all of them.  The best way to do that is to do a variety of ab exerises.

How often can you exercise your abdominals?

How often you work your abs really depends on how hard you are working your abs. 

If you’re starting to exercise your abs for the first time, you may not want to jump right into an intense ab workout.  In that case, you can work your abs several days per week.  If your abs are sore the next day, I would suggest giving them a rest.

If you’re doing an intense ab workout, you want at least one day of rest in between workouts.  
Strong abs... how do you get them?

You want strong abs, right?  To get them you have to work them.

Like anything new, I suggest you start slow and gradually  build up to a 10 – 15 minute ab workout.

Since our abs are used in (I think I can say all, but let’s not get crazy) nearly all of our movements, you are actually working your abs to some extent in all of your workouts. Always remember to hold your abs in tight to stabilize your core during exercises like squats, deadlifts, chest press, shoulder press etc.
Strong abs... beginner exercises

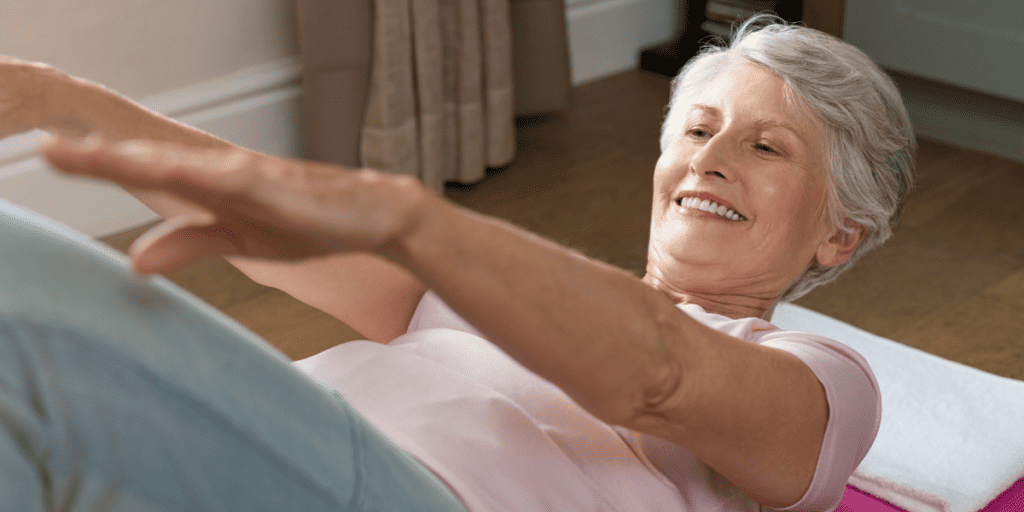
I wanted to give you some beginner exerises you can get started with today.  Start with one or two of these exercises and do 15 reps.  Check out the video below for a demo of these 10 exercises.
  • Basic crunch
  • Prayer crunch
  • Alternating toe reach
  • Reverse crunch
  • Flutter kicks
  • Bicycle crunch
  • Romanian twist
  • Windshield wipers
  • Plank
  • Side plank

I’ve also created a 30-day ab workout calender.  Stay consistent and never wonder “what ab exercise should I do today?” again.

Want more than just strong abs...

If you’re thinking, Kim, this is all great but I want to see my abs.


Well, at the end of the day you can do all of these exercises and you will have strong abs, BUT… they may be covered by a layer of fat.  

And, the only way to really see those strong abs you’ve created is by dialing in your nutrition and reducing body fat.


Genetics also play a role and can be the final determination on which ab muscles you see or don’t see, but without following a healthy diet, those abs of yours are definitely going to continue to hide.

It depends on your goals...

We all have different goals and there is no right or wrong choice.  Some of us have a goal of strong abs so we can maintain an active lifestyle for years.  Others may have a goal of seeing that six pack.


Either way, you’ll want to work your ab muscles on a consistent basis. 


Regardless of whether you want the six pack or not, following a nutritious diet is always highly recommended. 

Pin it now. Read it later.

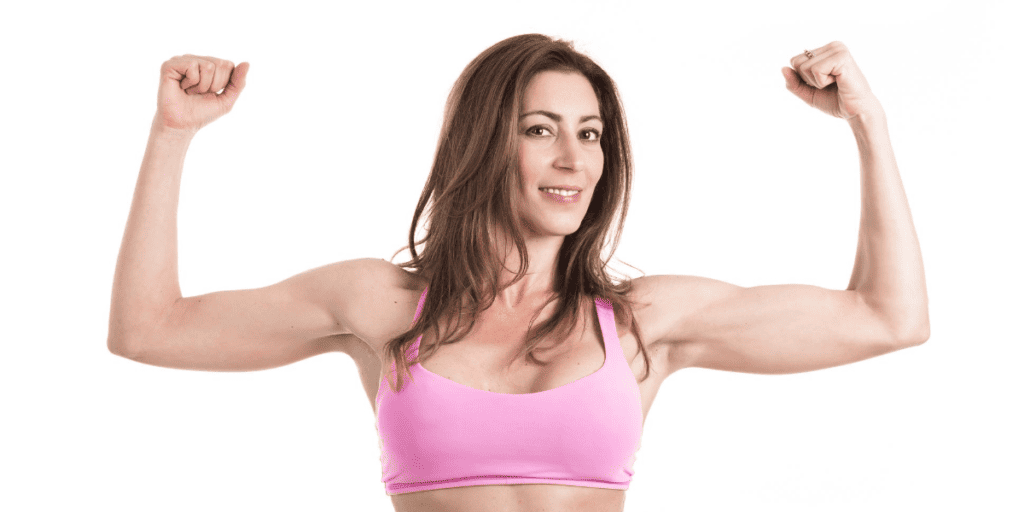
Strong sexy arms

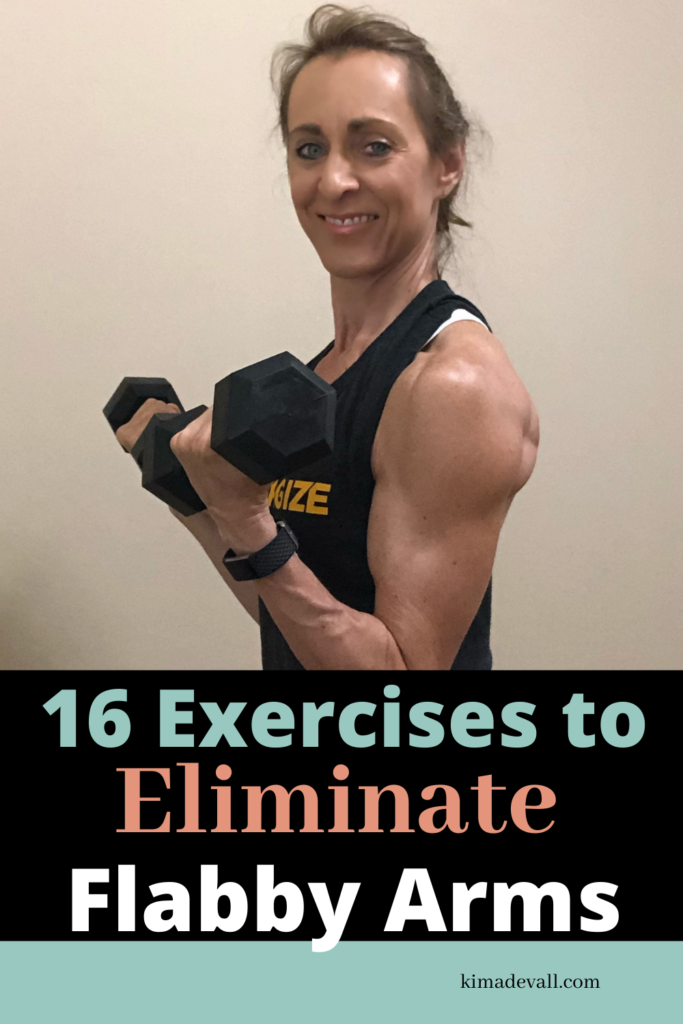
Mix and match these 16 exercises to eliminate flabby arms forever.

New here?  Thanks for stopping by.  After you read this post, check out my other blogs for the woman over 50 who wants to lose body fat while building muscle and eating foods you actually want to eat.

Getting Started with Exercises to Eliminate Flabby Arms

Where did these flabby arms come from?

Did you look in the mirror and ask “When did my arms become all saggy?” 

Not to worry.  We are going to take care of that right now.

Sagging or flabby arms are often a part of aging.  Not that our age caused them, but lack of use, loss of muslce mass and an increase in overall body fat are to blame.

Will strength training get rid of flabby arms?

YES!  Adding lean muscle will eliminate the appearance of fat on your arms.

Adding muscle also increases your metabolism which means more calories burned.

You can’t spot train to burn fat in your arms.  You can do specific exercises to build more muscle in your arms.

What you need to know to eliminate flabby arms

Before I jump into my favorite exercises to eliminate flabby arms and build killer arms, I want to lay some ground rules I follow and I highly encourage you to adopt these too.

Contrary to what you may read on the internet, doing high reps with no weights is NOT going to get rid of your flabby arms.

Rule #1: Overload the muscle

You need to overload the muscle. So, what does that mean? In simple terms, use a weight that feels a little heavy.

The best way to explain this is to pick a dumbbell heavy enough that you can only do 10 reps (with good form). Now, the first time you do this you don’t know what weight to use, right?

So, to find the weight right for you, pick a light weight and keep testing it.  For example, pick a weight, like 2 pounds, and aim for 10 reps.  Did you make it to 10?  Could you do more?  If you could do more than 10, you need a heavier weight.  If you could only do 8, you can either stick with this weight until you can do 10 or you can try a slightly lighter weight.

Side note:  1 rep equals doing the specific exercise one time (ie. one bicep curl)

Create a consistent workout routine

Although we’d all love to workout once and have toned and flab-free arms, it just doesn’t work like that.

You don’t need hours in the gym.   The workout I share below can be done in 15 minutes a day, but you need to be consistent.  You can do this 2 – 3 days per week as long as you don’t work your arms two days in a row.

If you haven’t already grabbed it, click the button to get my 3 day per week full body at-home workout that you can do in 15 minutes per day.

Now, “I don’t have time” just became a thing of the past.

Make sure your nutrition is on target

Since a big contributor to our flabby arms is excess fat, we need to make sure we’re following a nutritious meal plan.

Did you notice, I said “meal plan” not DIET?

If you also have a goal to lose weight, you’ll need a calorie deficit.  In other words, you need to burn more calories than you consume. For some easy ways to reduce calories, click here.

Although you can’t spot reduce and lose fat specifically in your arms (your body and genetics will decide where the fat comes off first), as you lose body fat overall you will lose body fat in your arms too.

Now,  let’s get to those exercises to eliminate flabby arms.  The two main muscles that give you the appearance of toned, sexy arms are the biceps and the triceps.  Your largest arm muscle is the bicep, which is the muscle at the front of your arm.

The tricep is the muscle at the back of the arm.  This is the muscle we usually think of when we talk about flabby arms.

It takes both of these muscles to make the arm look toned. In the rest of this blog, I’ll share exercises for both muscles.  The secret is to do BOTH.  As you’ll see in the sample workout below, you don’t need to do lots of different exercises to eliminate flabby arms.  These are here to give you alternatives so you never get bored.

Bicep exercises to eliminate flabby arms

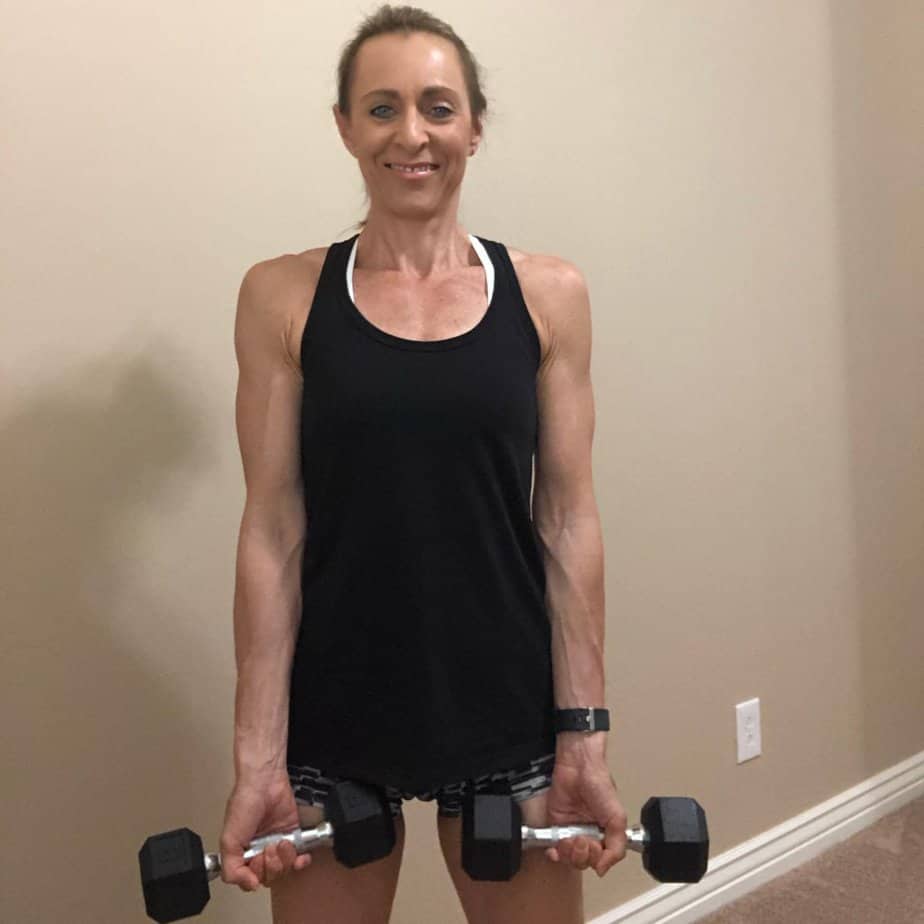
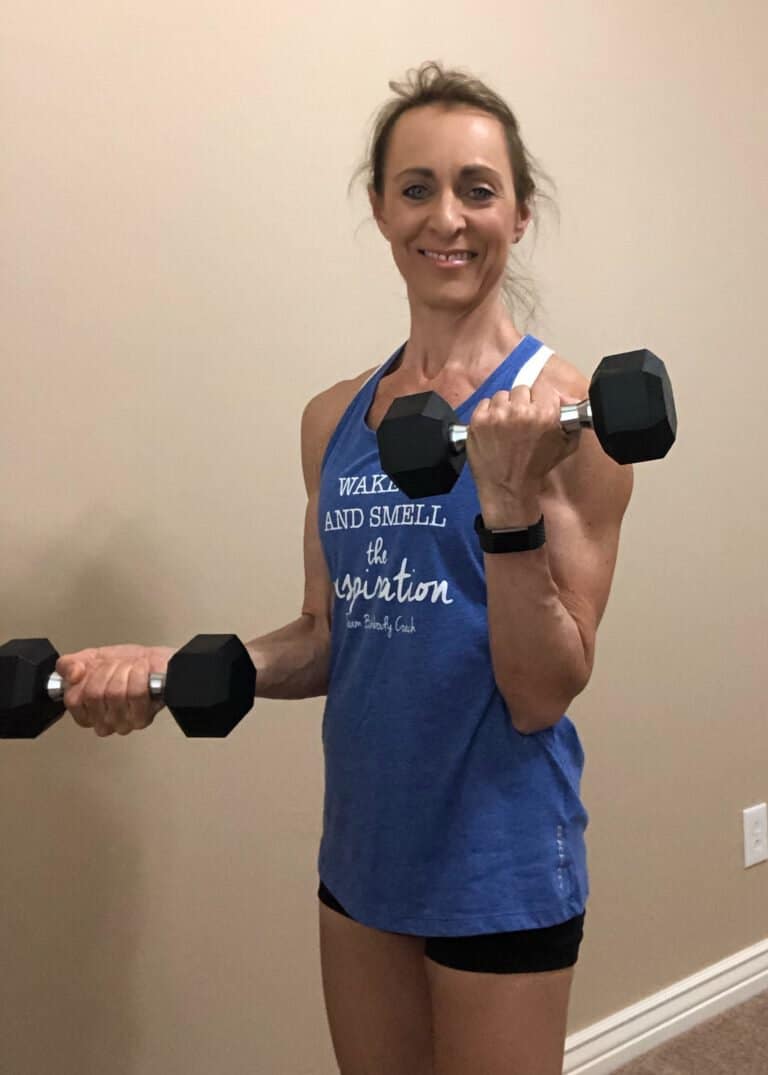
Exercise #1 - Bicep curl

Starting position: Stand tall, shoulders pulled back and arms by your side holding a dumbbell in each hand, palms facing forward away from your body.

The curl: Concentrate on squeezing your bicep muscle as you raise your hands toward your shoulder.  Raise both weights simultaneously. Elbows should be squeezing against the side of your body.

Exhale as you curl the weight up and inhale as you lower the weight.

Dumbbell Bicep Curl

Exercise #2 - Alternating bicep curl

Starting position: Stand tall, shoulders pulled back and arms by your side holding a dumbbell in each hand, palms facing forward away from your body.

The curl: Concentrate on squeezing your bicep muscle as you raise your hands toward your shoulder.  Elbows should be squeezing against the side of your body. Lift only one weight at a time.  All the way up and down and then alternate arms.

Exhale as you curl the weight up and inhale as you lower the weight.

Alternating Dumbbell Bicep Curl

Exercise #3 - Hammer curl

The hammer curl is done exactly like the bicep curl (#1 above) with the exception that you are starting with arms by your side with palms facing inward toward your body.  As you curl the weights up, the tops of the dumbells face up toward the ceiling.

Exercise #4 - Top curl

Similar to the bicep curl except…

Starting position: Stand tall, shoulders pulled back and arms by your side holding a dumbbell in each hand, palms forward facing away from your body.

Concentrate on squeezing your bicep muscle as you raise your hands/dumbbells to waist level.  This is your new starting position.

The curl:   Raise both weights simultaneously toward your shoulders. Elbows should be squeezing against the side of your body. Now, only lower the dumbbell to waist level.  That is one rep.

Exhale as you curl the weight up and inhale as you lower the weight.

Exercise #5 - Bottom curl

Similar to the top curl except…

Starting position: Stand tall, shoulders pulled back and arms by your side holding a dumbbell in each hand, palms facing forward away from your body.

The curl: Concentrate on squeezing your bicep muscle as you raise your hands/dumbbells simultaneously to waist level.  Stop.  This is your new ending position.  Lower the weights back down. Elbows should be squeezing against the side of your body during the entire movement.

Exhale as you curl the weight up and inhale as you lower the weight.

Exercise #6 - Single arm curl with isometric hold

Now, we’re getting a little more fancy.

Starting position: Stand tall, shoulders pulled back and arms by your side holding a dumbbell in each hand, palms facing forward away from your body. Curl one weight up to waist level. Let’s say, we start with your Right Arm. Stop and hold it there.

At this point, your Right Arm is curled to waist level. Your left arm is still fully extended.

Sidenote: Your Right arm is going to want to drift downward.  Keep it parallel to the floor as the Left Arm curls.

The curl: Concentrate on squeezing both bicep muscles as you raise your left hand/dumbbell toward your shoulder.  Elbows should be squeezing against the side of your body.

Your right arm is not moving.  Except, for maybe a little shaking.

Exhale as you curl the weight up and inhale as you lower the weight.

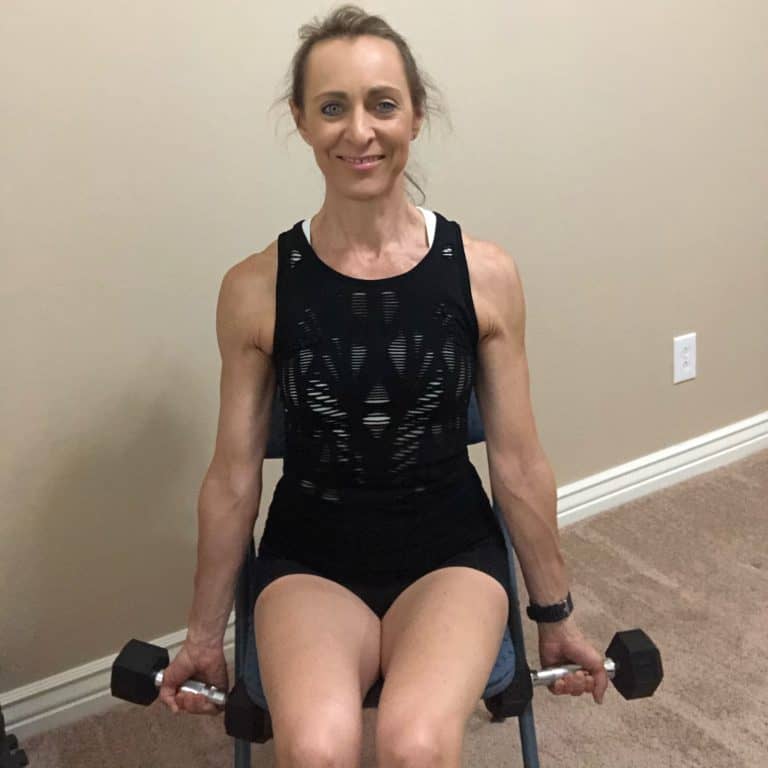
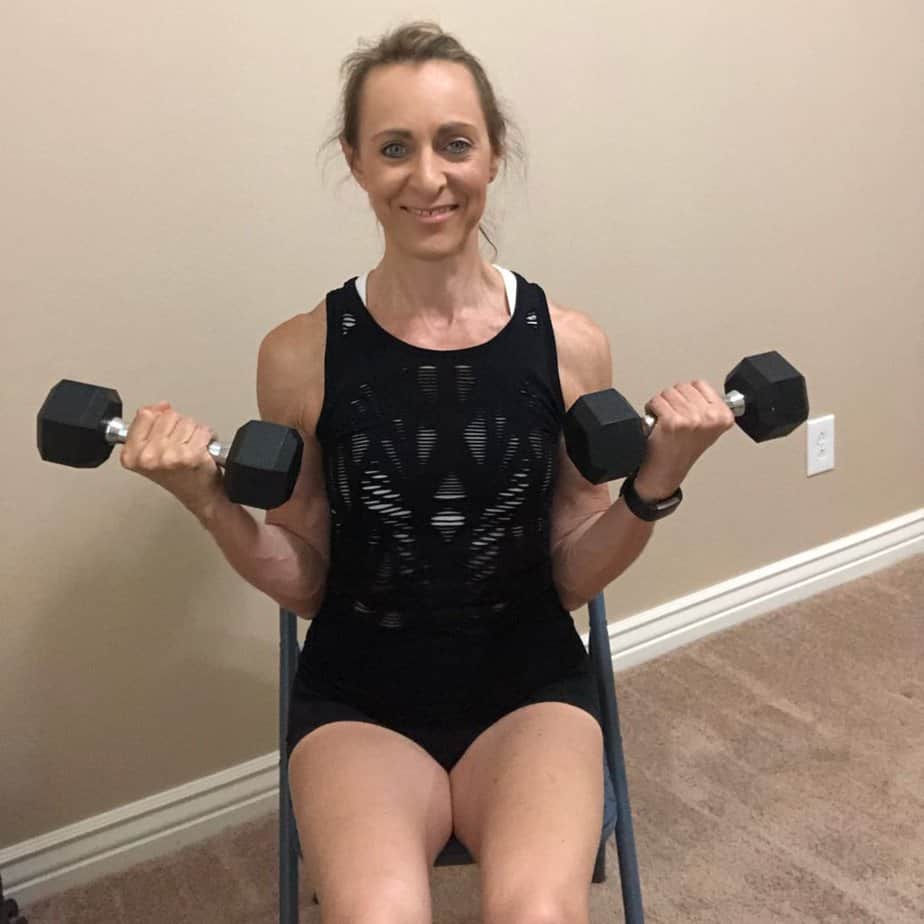
Exercise #7 - Seated dumbell curl

Grab a chair or bench for this one.

Starting position: Sitting tall, shoulders pulled back and arms by your side holding a dumbbell in each hand, palms facing forward away from your body.

The curl: Concentrate on squeezing your bicep muscle as you raise your hands toward your shoulder.  Raise both weights simultaneously. Elbows should be squeezing against the side of your body.

Exhale as you curl the weight up and inhale as you lower the weight.

Tricep exercises to eliminate flabby arms

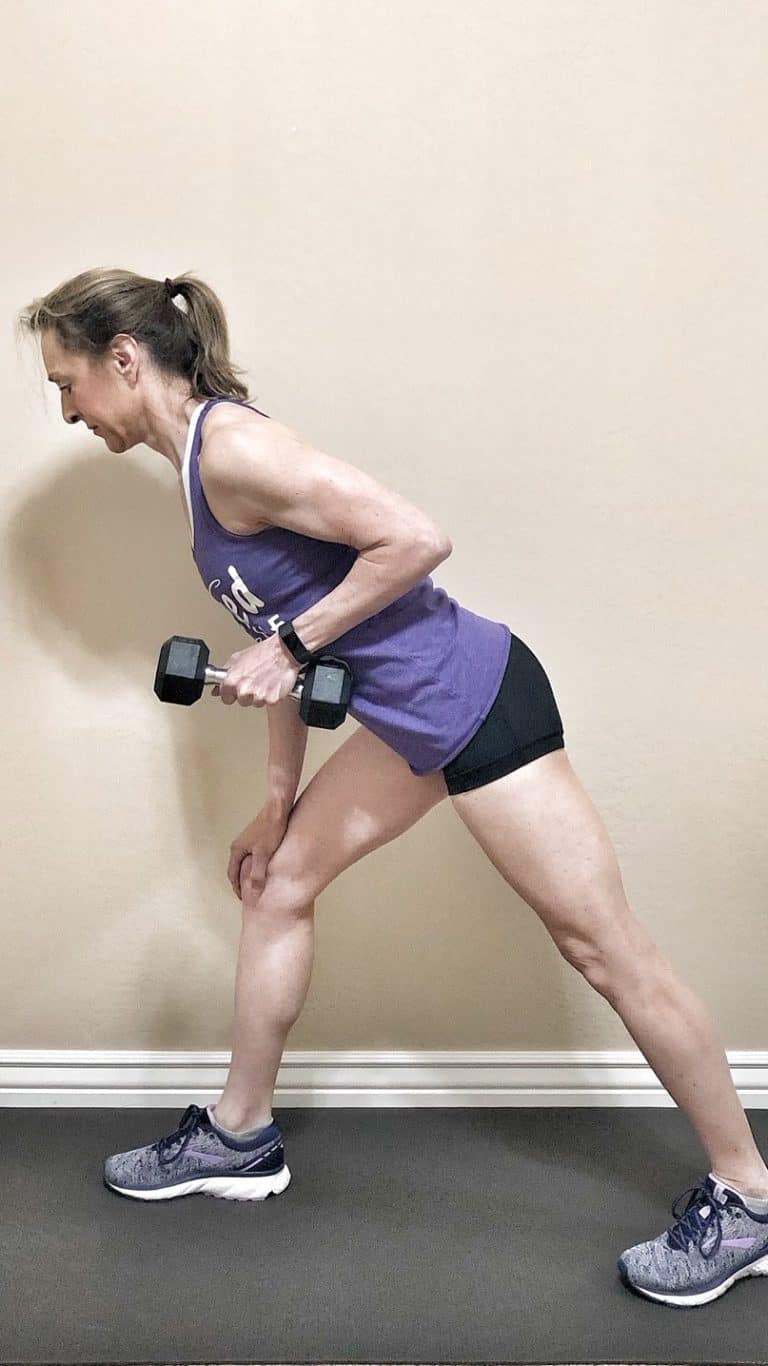
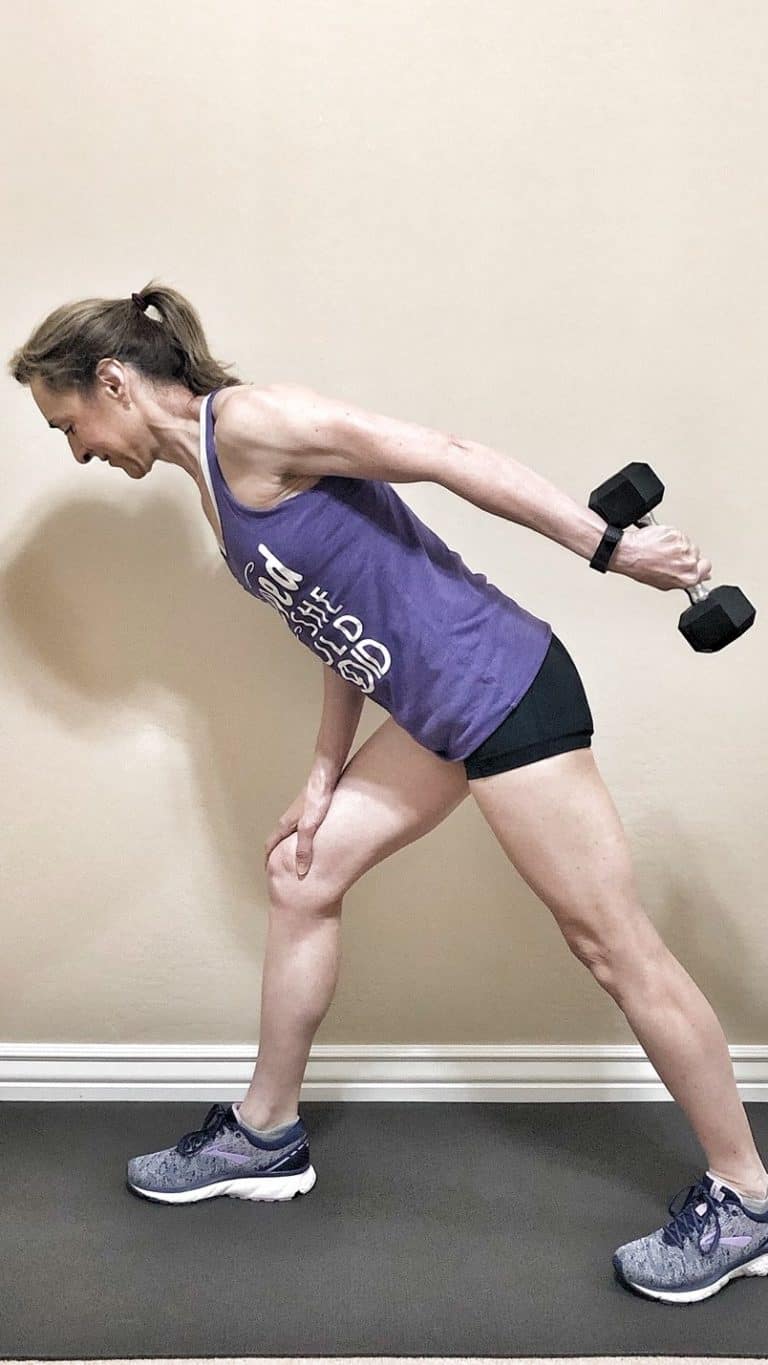
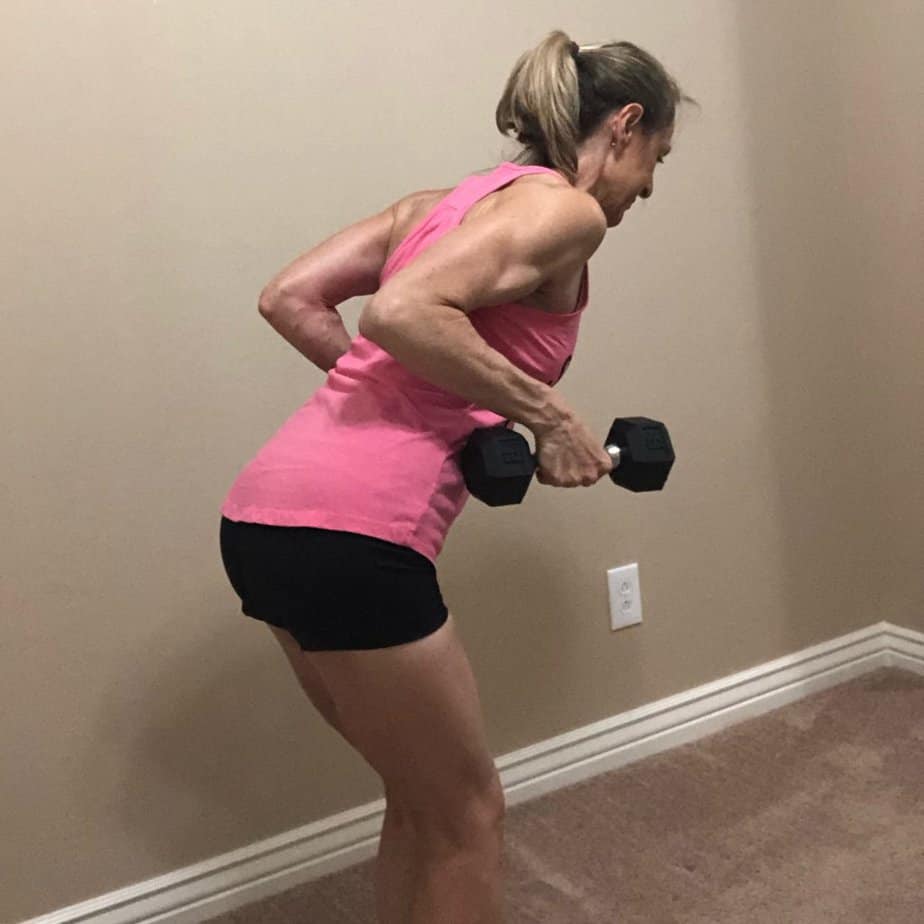
Exercise #8 - Single arm tricep kickback

Starting position: Standing, step one leg forward and bend over slightly, keeping your back flat.  You can rest one hand on your front leg.  Start with your opposite arm down by your side.

Bend your elbow so that the dumbbell is approximately parallel to the floor with your elbow touching your side and palm of your hand facing in toward the center of your body.

The extension: Pushing your arm/dumbbell back and behind you, squeezing the back of your arm (tricep muscle).  Hold at the top for a second, squeezing your tricep (back of arm) and bring it back to starting position.

Side note: The top part of your arm from shoulder to elbow should not move much.  The primary movement occurs between your elbow and wrist.

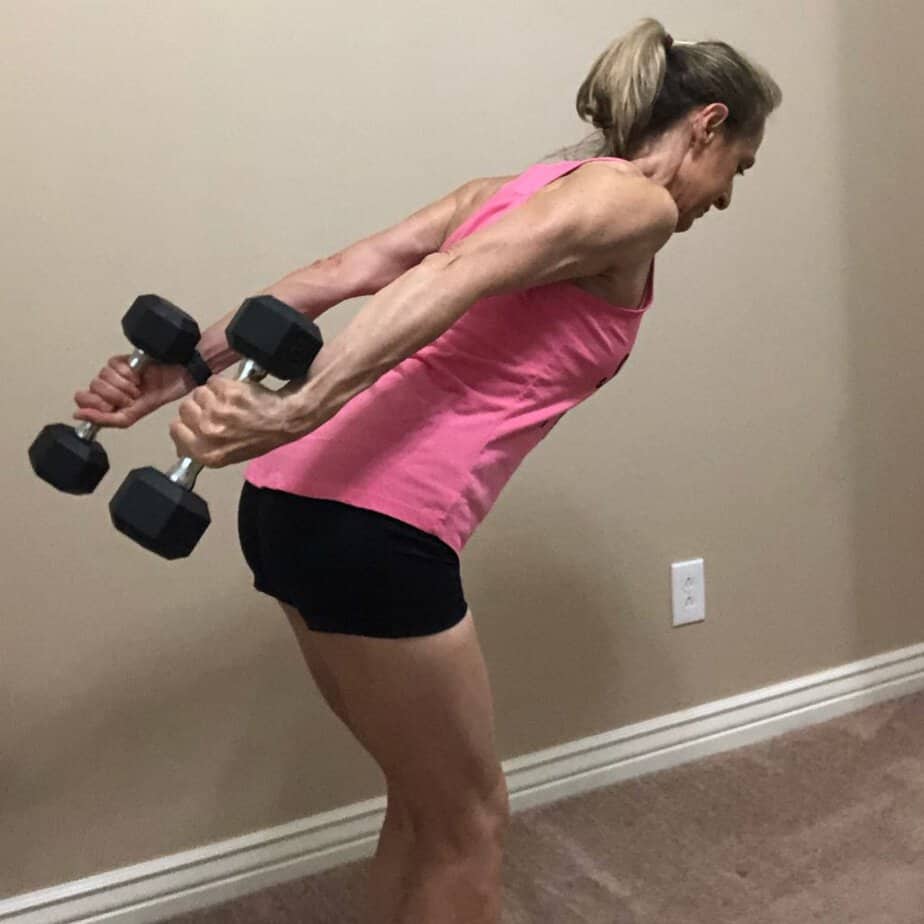
Exercise #9 - Double arm tricep kickback

This is the exact exercise as #8 except…

Extend both arms at the same time.  If you’re just starting out, stick with #8 until you’re comfortable with the movement.

Tricep kickback

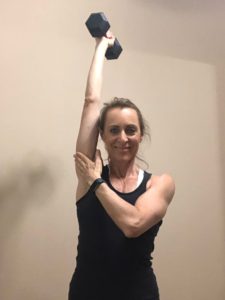
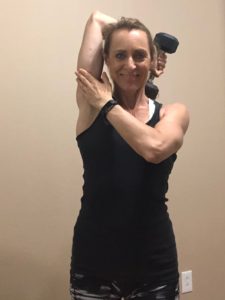
Exercise #10 - Single arm overhead tricep extension

Starting position:  Standing tall with a dumbbell in one hand, lift your arm toward the ceiling with your elbow close to your ear.

Side note: The first time you do this, do it with no weights to get a feel for the exercise.

The extension: Lower your hand/dumbbell behind your head and down toward the middle of your back.

Side note: Only lower the weight as far as is comfortable, keeping your elbow next to your ear at all times.

TIP: Use your opposite hand to hold your arm close to your head.

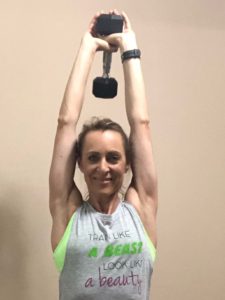
Exercise #11 - Two arm overhead tricep extension

Starting position: Standing tall with both hands holding one end of the dumbbell, lift your arms toward the ceiling with your elbows close to your ears.

The extension: Lower the weight behind your head and toward your middle back.  Only lower the weight as far as is comfortable and bring the weight back up to starting position.

Exercise #12 - Seated tricep dip

There is a very small range of movement with this one.  For a more advanced version, see the chair/bench tricep dip below.

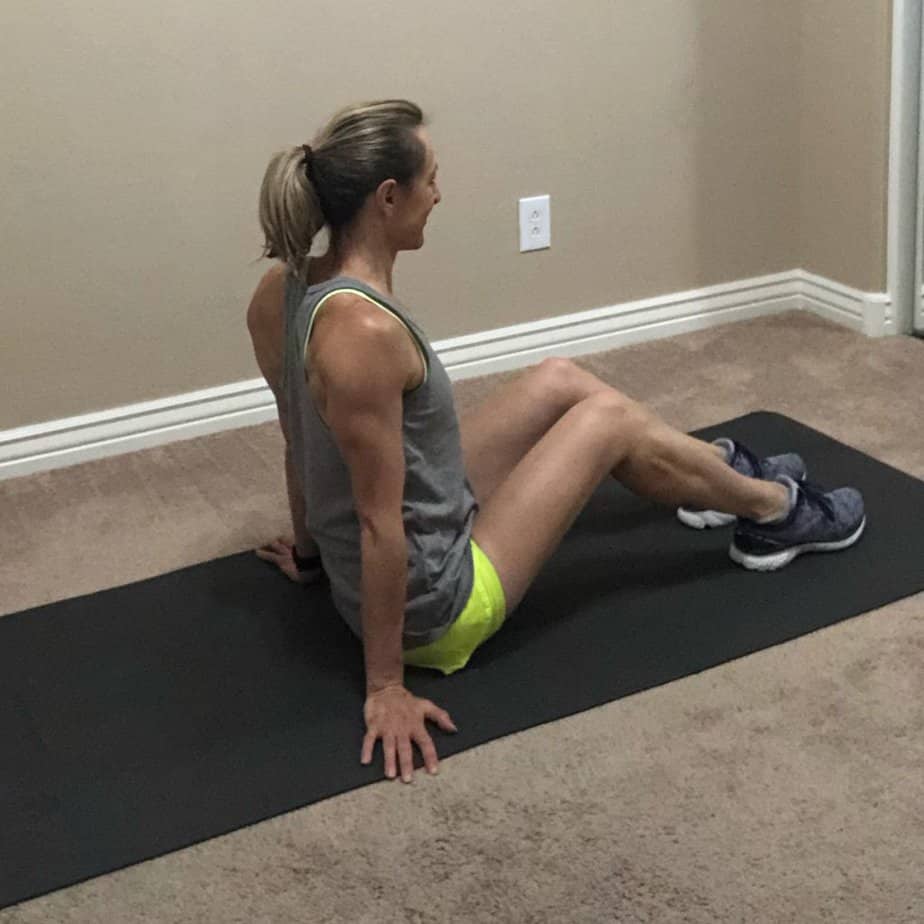
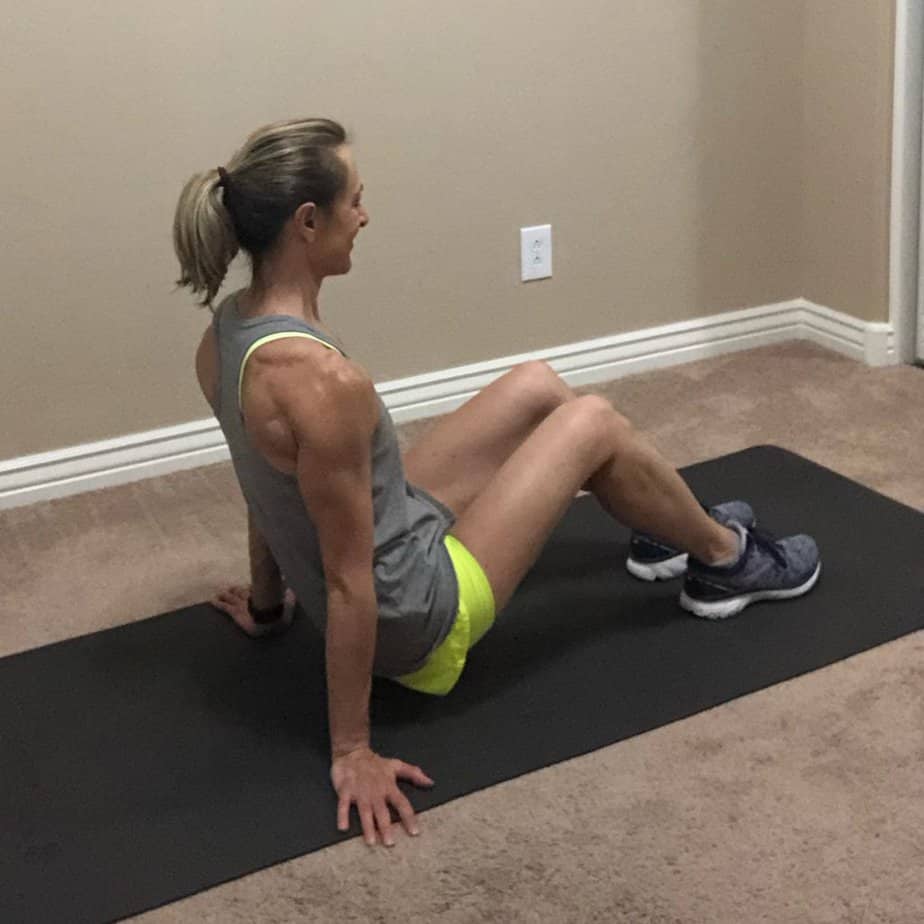
Starting position:  Seated on the floor.  Knees bent, feet on the floor.  Hands on the floor by your sides.  Squeeze the back of your arm as you extend your arms and raise your butt off the floor. 

The dip: Bending your elbows lower your butt toward the floor. Squeeze your tricep (back of arm) as you extend and lower.

NOTE: Find the hand position that feels best to you.  Some women have wrist issues so if this bothers your wrist, skip it and do a different tricip exercise.

I know it’s difficult to see from these photos.  My butt is only an inch or two off the floor in the far right photo.  As I said, there is a very small range of motion invovled.

Exercise #13 - Chair/bench tricep dip

This is more advanced.  If you’re new to tricep dips, start with the seated tricep dip above.

Starting position: Sit on the edge of a sturdy chair or bench.  Hands on the bench close to your sides (even under your butt).

With feet planted on the floor and legs extended in front of you, move your body forward off the bench.  

The dip: Keeping your body as close to the bench as you can, lower your body toward the floor as far as is comfortable (think of it as nearly scraping your back against the bench) and then back up.

Elbows should be scraping the sides of your body as you start to lower and then they are pointed straight to the back of the room (not out to the side) as you lower.

Exercise #14 - Tricep knee pushups

Did you see the word “PUSHUP” and already decide that’s not for you?

If so, I ask you to reconsider.  Pushups are HARD, true.  But, they are one the best exercises to eliminate flabby arms.  You’ll also gain a new physical strength, and mental toughness and holy crap, an amazing sense of accomplishment.

AND, I’m going to give you some variations. You’ll be doing #15 before you know it!

You want to gain confidence?  Do pushups.  Most women can’t do them (only because they don’t try).  You will have earned bragging rights if you do these.

OK, enough about that.  Time to get to work.

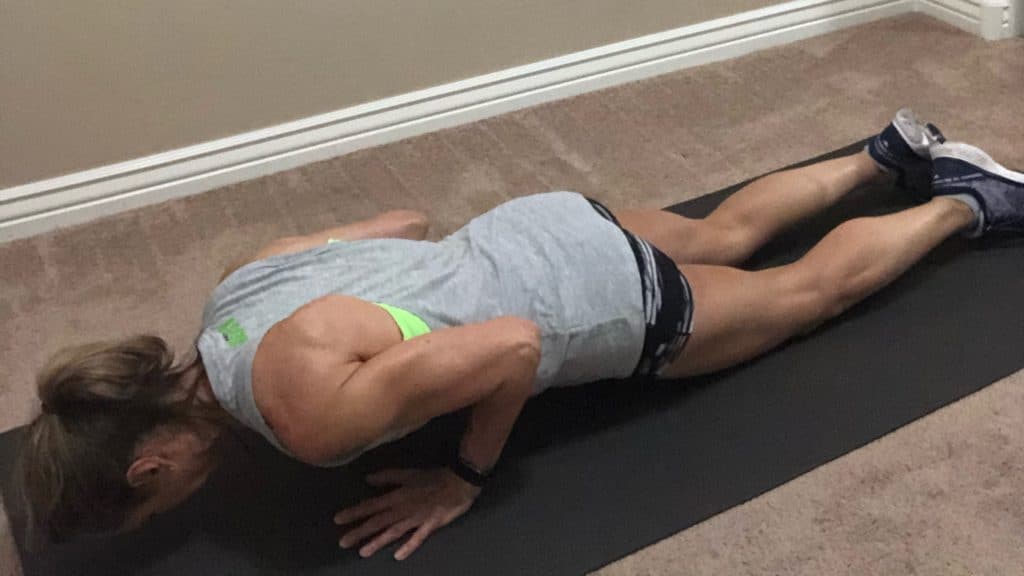
Starting position: Hands on the floor. With knees all the way to your toes on the floor, lean your body forward so that your chest is above your hands.

Side note: The more narrow your hands (ie. the closer they are to each other), the harder it will be SO…  start with them a little wider and bring them in as you get stronger.

A wider hand position will target more of the chest instead of the triceps, but that’s ok.  Do what you can do.

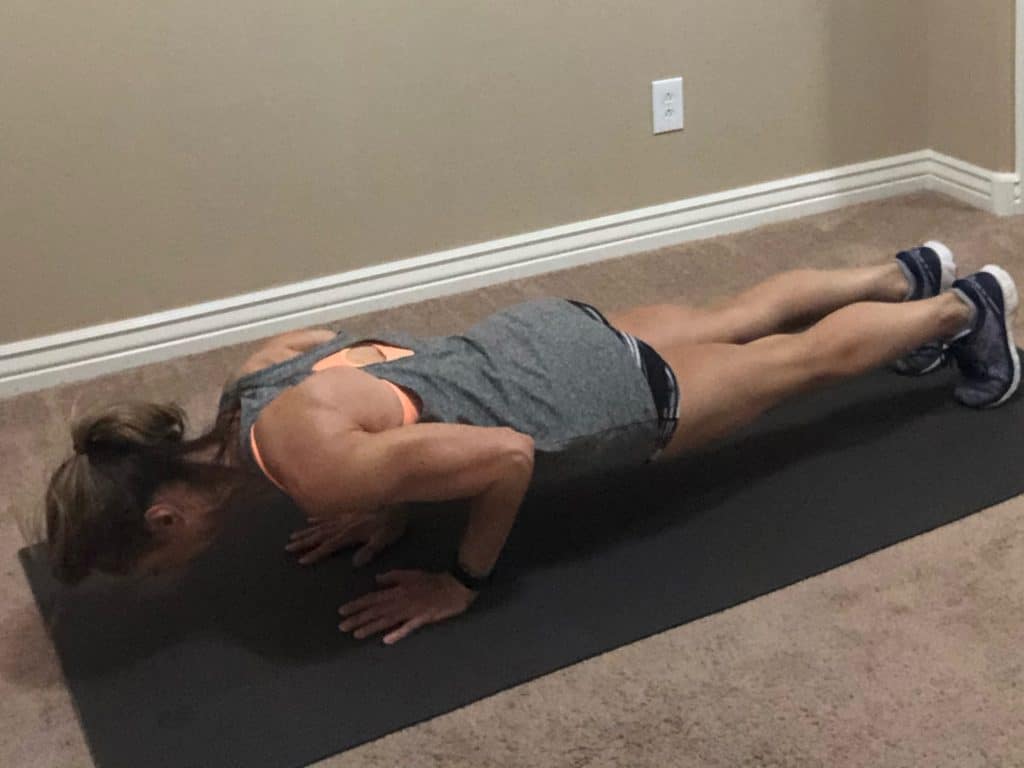
The Push up: Lower your body toward the floor, arms should be scraping the sides of your body with elbows pointing to the back of the room.

Extend back up to starting position.

Exercise #15 - Tricep full pushups

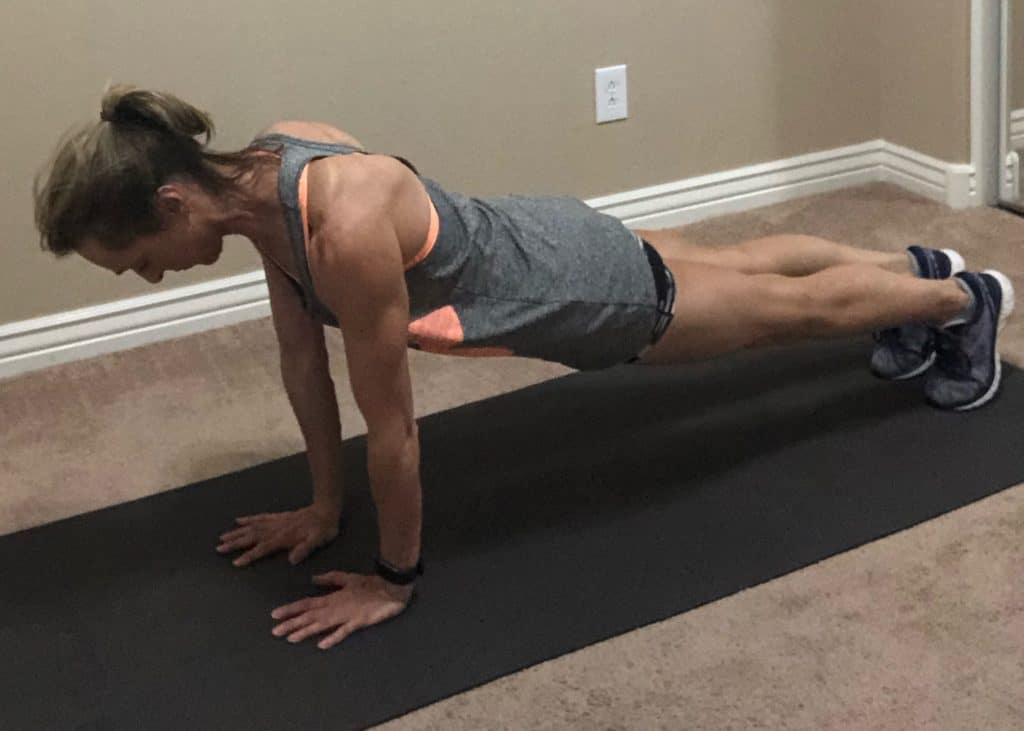
If you’re doing the full pushups on your toes, give yourself a pat on the back.  This is NOT a beginner exercise.

Once you feel you have conquered the tricep pushup on your knees, you’re ready to start adding in some full pushups.

When starting out, mix these in with #14.  Do as many of these on your toes as you can (maybe 1 or 2), then drop to your knees to finish.

The only difference with the full (on your toes) version is that YOU ARE ON YOUR TOES instead of your knees.

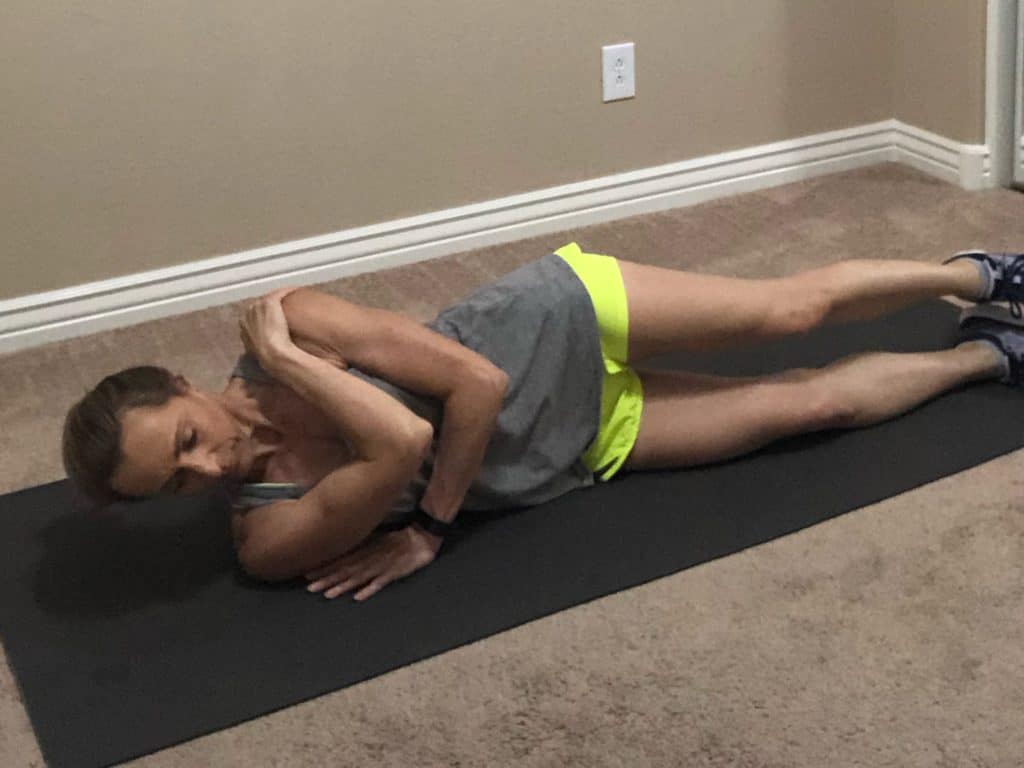
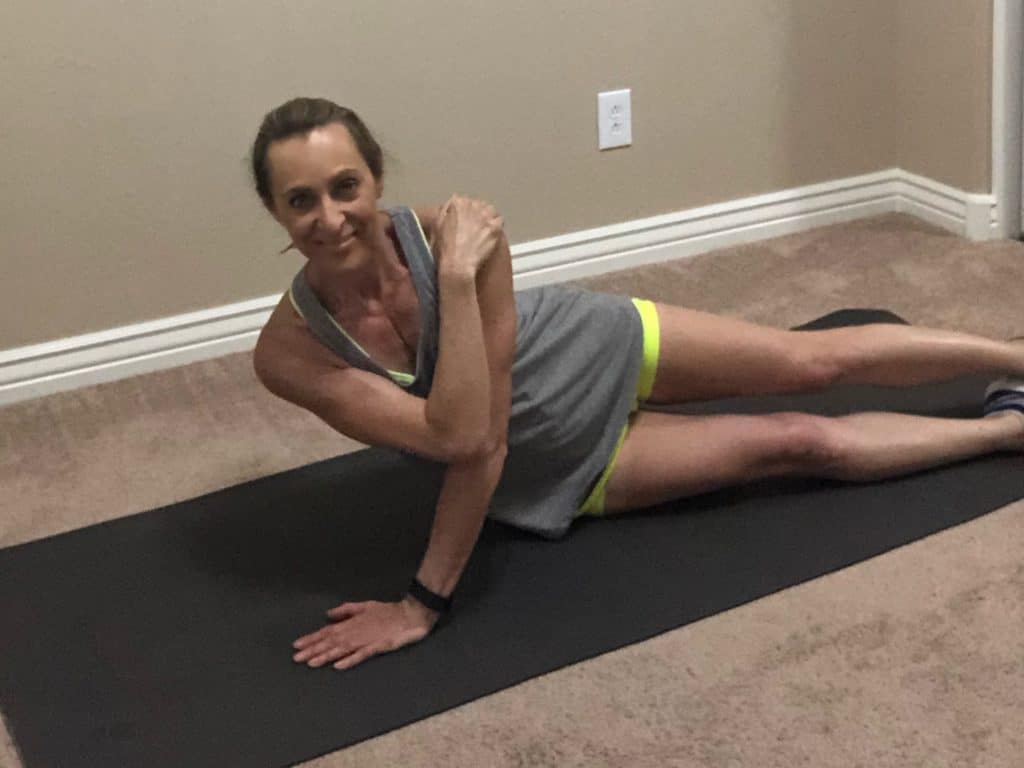
Exercise #16 - Lying tricep extension

This is a phenomenal exercise and a more advance one.  You can build amazing arms without this one, but if you’re ready to try it, let’s go.

Starting position:  Lying on the floor on your right side.  Right arm reaches up and holds onto your left shoulder.

Left hand is on the floor near your right arm pit.

Legs are extended and can bend as is comfortable.

The extension: Press your body upward with your left hand.  Then lower back to the floor.

Sidenote: Try not to rest on the floor.  Just briefly tap down and right back up.

Pulling it all together with exercises to eliminate flabby arms

You can use these 16 exercises to change up your workout as you see fit.  Or pick the one’s you like best and stick with those.  Just make sure to include a mixture of bicep and tricip exercises.

Try this for a great 15 minute arm workout:

Do 10 reps of each of these exercises.  Then repeat 2 – 3 times.

  • Bicep curl
  • Hammer curl
  • Single arm tricep curl
  • Single arm overhead extension

Although this blog focused on our arms, you won’t want to neglect the rest of your body.

If you haven’t already, don’t forget to grab my 3 day full body at-home workout that you can also do in 15 minutes a day.

Have you joined our FREE Facebook community yet? If not, just click the button below to join.

Pin it now. Read later.